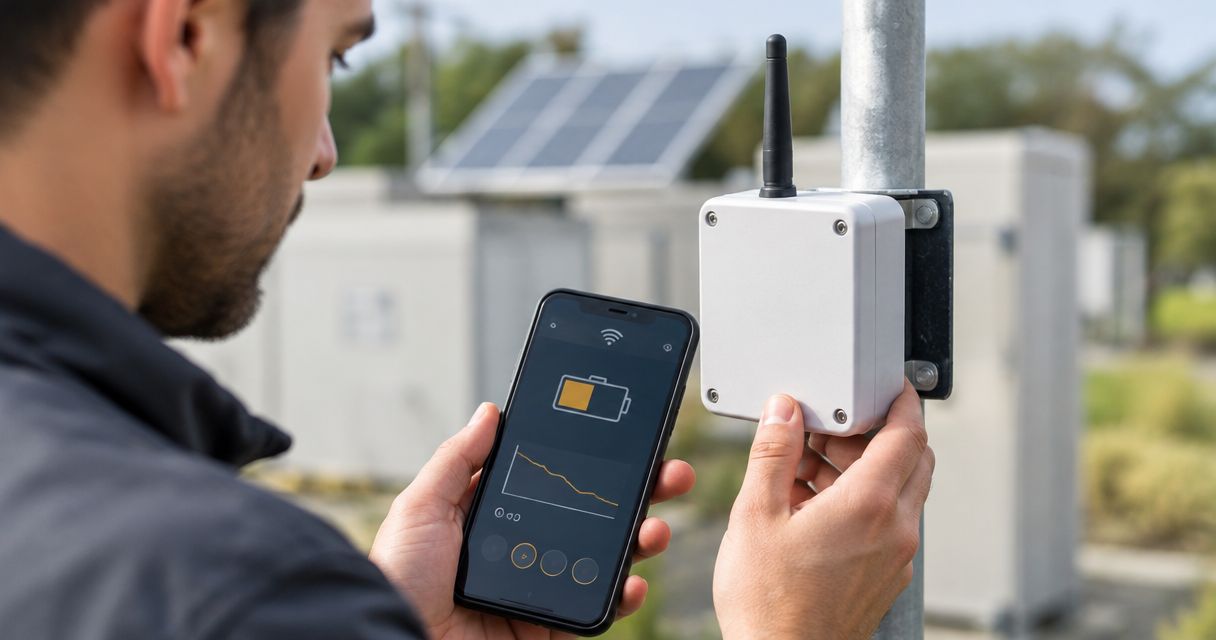
Your water leak sensor is in the right spot when its sensing contacts sit where escaping water will actually reach them, and a manufacturer-approved test produces the expected alert. For connected monitoring, an IoT platform adds the reporting layer, but it cannot compensate for a sensor sitting above or outside the water’s path. Verify the physical position and the alert delivery separately before treating the installation as complete.
- Water leak sensor placement follows the water’s likely path, not simply the nearest convenient mounting point.
- Test sensing contacts and remote alerts separately; an online device is not proof of leak detection.
- Use point sensors for defined collection spots and sensing cable for a longer exposed route.
- Kilo supports connected monitoring; physical placement still determines whether water reaches the sensor.
How to know if a water leak sensor is in the right spot
A good location passes a physical-path check, a detection test and an alert-delivery test. Start at the potential leak source and follow the route water would take across the actual surface. Look beneath the equipment rather than judging the position from the doorway.
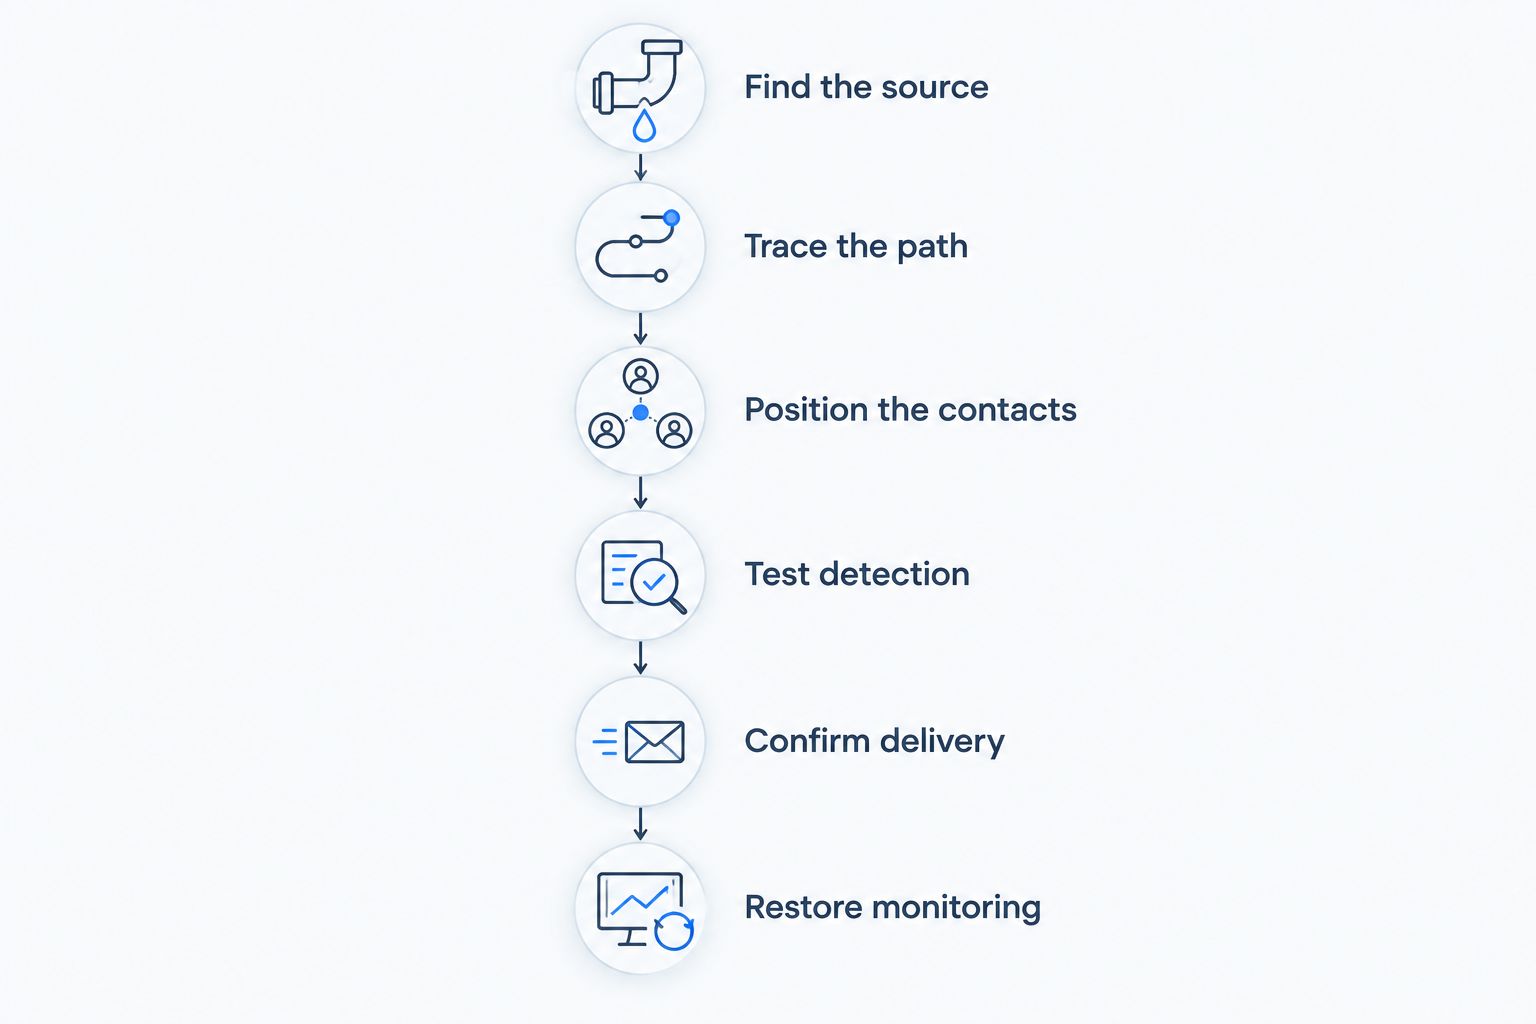
Use this sequence before signing off the installation:
- Find the source. Identify the connection, hose, drain, tray or piece of equipment you want to monitor. Different sources can send water in different directions.
- Trace the path. Inspect slopes, cabinet bases, equipment feet, seams and raised edges. Establish whether water would reach the proposed position or collect somewhere else.
- Position the contacts. Place the sensing element according to its installation instructions. Keep the electronics enclosure out of water unless the manufacturer explicitly permits that exposure.
- Test detection. Use the manufacturer’s approved procedure to activate the sensing element. Don’t create an uncontrolled spill to imitate a leak.
- Confirm delivery. Check that the correct device reports the event and the intended recipient receives the configured notification.
- Restore monitoring. Dry, clean and reset the sensing element as instructed, then confirm that the system returns to its normal monitoring state.
A successful test at the contacts proves that the sensor detects the test condition. It does not, by itself, prove that water from the equipment can reach those contacts. That is why tracing the path comes first.
Where should water leak sensors go around common equipment?
Start close to the potential source, then adjust the location to match the collection surface. The nearest spot is useful only if escaping water can reach it.
Under a sink, inspect the supply connections, drain assembly and cabinet base. A sensor on the room floor outside the cabinet does not detect water that remains trapped inside the cabinet. Position the sensing element on the surface you actually need to monitor, without blocking access to plumbing.
Around a washing machine or dishwasher, consider the supply hose, drain connection and route beneath the appliance. Don’t assume a sensor at the front covers a leak confined behind an equipment foot or raised floor edge. Keep the sensor accessible without interfering with moving parts or servicing.
For a water heater, inspect any drain pan and the surrounding floor as separate collection areas. A pan can retain water while a nearby floor sensor stays dry. Follow the equipment and sensor instructions, and don’t obstruct the pan’s drain or other required fittings.
Near air-conditioning equipment, distinguish unintended leakage from water that belongs in the condensate system. A sensing element placed in a routinely wet location cannot distinguish expected water from an unwanted event unless the application and configuration support that distinction.
Place the sensor to detect a specific failure path, not to represent an entire room. Write down that intended coverage so the next person understands what remains unmonitored.
Should you use a point sensor, remote probe or sensing cable?
Choose the sensing arrangement after inspecting the water path. A compact point sensor suits a defined collection spot; a longer route calls for a different physical layout.
| Sensing arrangement | Best for | Placement advantage | Main limitation |
|---|---|---|---|
| Point sensor | A defined low spot or contained collection area | Simple placement directly on the monitored surface | Water must reach the sensing contacts at that location |
| Remote probe | A collection spot separated from the transmitter’s mounting position | Lets you position the sensing element independently of the electronics | Probe reach and installation requirements constrain placement |
| Sensing cable | A longer exposed route or equipment perimeter | Distributes sensing along the installed cable | Coverage follows the sensing sections actually installed, not the whole surrounding floor |
These are arrangements, not interchangeable specifications. Some cables sense along their length; others connect a transmitter to a sensing tip. Confirm which part of the assembly detects water before routing it.
Point sensors: check contact with the monitored surface
A point sensor resting on a bracket, packaging material or uneven support can leave its contacts above the water you intend to detect. Confirm the required orientation and contact position in the manufacturer’s instructions. Keep the location clear of stored items that could lift or displace it.
Remote probes: separate sensing from communication
A remote probe lets you place the sensing element at the collection point while mounting the transmitter elsewhere, subject to the device’s design. This is useful when the wet area is awkward to access or unsuitable for the electronics enclosure. Secure the connecting lead so routine cleaning or maintenance does not pull the probe away.
Sensing cable: inspect the entire installed route
Route sensing cable where water is expected to cross or collect, using the prescribed mounting method. Don’t assume cable hidden beneath a protective cover still has the required exposure to water. Inspect bends, connectors and sections near access panels for damage or displacement.
For hardware sourcing, Kilo Electronics is a separate online authorised dealer serving individual and business buyers. Select compatible hardware for the installation; a purchasing channel does not establish platform compatibility or physical coverage.
Why water leak sensor placement varies between sites
The right position depends on the surface and failure path, not a universal distance from a pipe. Inspect these factors together:
- Floor slope: Water follows the available downhill route rather than necessarily pooling directly beneath the source.
- Containment: Trays, cabinet bases, curbs and thresholds can keep water away from a nearby sensor.
- Leak origin: A supply connection, drain fitting and equipment enclosure can release water onto different surfaces.
- Sensing design: Exposed contacts, remote probes and sensing cable require different positioning and mounting.
- Routine activity: Cleaning, stored materials and equipment movement can wet, cover or displace the sensing element.
- Communication conditions: A connected sensor must report from its final installed position, including with relevant doors and panels closed.
Don’t move the sensing element out of the expected water path merely to improve communication. Where the hardware supports it, separating the probe from the transmitter gives you a different layout to evaluate. Otherwise, address the connectivity problem or reconsider the hardware.
How do you test placement without causing a real leak?
Follow the sensor manufacturer’s test procedure and the site’s maintenance requirements. Never loosen a live fitting, overflow a tray or pour water near electrical equipment to demonstrate coverage.
Separate the test into physical and reporting checks. First, inspect the expected flow route and confirm that no lip, divider or obstruction isolates the sensing element. Then activate the sensor using the approved method, which depends on the device.
For a connected system, observe the event at each relevant stage: the sensor indication, the received device event, the alarm and the recipient’s notification. These are different observations. A local sounder does not prove that a remote alert arrived, while a dashboard showing the device online does not prove that its wet contacts work.
Record the device identifier, exact location, test method, observed result and person responsible for responding. A placement photograph helps document orientation and nearby barriers. Use a location description that someone unfamiliar with the installation can follow.
If a test fails, identify the failing stage before moving anything. A sensor that detects water locally but sends no remote event needs a reporting investigation; changing its physical position without understanding the cause can introduce a separate coverage problem.
What does a practical placement check look like?
Illustrative scenario, not a customer installation: You want to monitor a sink cabinet containing a supply connection and a drain assembly. The cabinet base has a raised front edge, so water collecting inside does not immediately reach the room floor.
A sensor outside the cabinet looks convenient, but it monitors escaped water on the room floor rather than the cabinet’s initial collection area. Inspect the base, position a suitable sensing element on the intended collection surface and confirm that stored cleaning supplies cannot push it aside.
Next, perform the approved detection test and confirm the notification contains a useful location. Assign the response to the person responsible for that area, with instructions to inspect the source rather than merely dismiss the alarm.
The evidence of a successful commissioning check is the observed test event and notification. The evidence of resolving an actual leak is a physical inspection and corrective action. A return to a dry reading alone does not explain why the water appeared.
How does connected monitoring help after placement?
The Kilo IoT Platform brings device data, dashboards, rules and alarms into a shared software environment. For a supported leak-sensor integration, the useful workflow is to associate incoming device data with a clear location and a configured response. The sensor still has to encounter water.
Kilo fits teams that need water leak sensor data alongside other connected-site monitoring. Its role is the monitoring and automation layer, not a substitute for suitable sensing hardware, installation or an onsite responder.
For a wider view of device events and response planning, see the guide to monitoring water leaks in commercial buildings. Placement verification is a narrower task: prove that the intended water path reaches the sensor and that the resulting event reaches someone who can act.
Automatic shut-off is a separate design decision. It requires a compatible actuator and a documented, configured command path; a monitoring platform alone cannot close a valve. An accepted or delivered command is also not proof that water stopped flowing—verification depends on available device feedback or subsequent measurements.
FAQ
How far from a pipe should I put a water leak sensor?
Place the sensing element where water from the pipe or connection would collect, rather than using a universal distance. Surface slope, barriers and the sensor’s installation requirements determine the location.
Can I mount a water leak sensor on the wall?
Wall mounting works only when the device design puts the sensing element where the unwanted water will reach it. A wall-mounted transmitter with a correctly positioned remote probe is different from floor-sensing contacts raised off the floor.
Does a sensor in the middle of the room cover the whole floor?
A point sensor does not establish whole-floor coverage. It detects water that reaches its contacts, so barriers and separate collection areas require their own assessment.
Does the test button prove my leak sensor is in the right place?
A test button does not establish that escaping water can reach the sensing element. Check the manual to learn what the button tests, then verify physical placement and alert delivery separately.
Should I move a sensor that keeps alarming during cleaning?
Identify why cleaning activates the sensor before moving it. Improve the cleaning procedure or mounting arrangement without removing coverage of the leak path you need to monitor.
When should I check water leak sensor placement again?
Recheck placement after plumbing work, equipment movement, cleaning changes or anything that disturbs the sensor. Follow the manufacturer’s maintenance instructions and your site’s inspection procedure for ongoing checks.
Check the barrier, not just the low spot
Before accepting a location, look for something that divides the surface: a cabinet edge, a tray wall, a floor joint or an equipment base. The lowest visible point can still sit outside the collection area you need to monitor.
Ask where water would have to travel before it touches the sensor. If the route requires water to overflow a barrier first, decide whether you are monitoring the initial leak or only its spread. That distinction is more useful than calling the sensor “near the pipe.”
Written by Tim Kravchunovsky